GETTING STARTED WITH STARLINK
After you place your order, the Starlink team will prepare your Starlink for shipment. Get ready for delivery and plan your setup by following these steps.
Download the Starlink app to prepare your setup location and manage your account. With the app, you will also be able customize WiFi settings, check the health of your connection, get Support, and more.
Create your Account
Once you sign into your account on the Starlink App or on your Account Home, you can:
Find your order’s shipment status and tracking number under "Your Orders" in the app or on your account page
Manage contact, billing, and shipping details
View your service locations and manage your subscriptions (e.g. add portability, pause, buy another Starlink, transfer service, or cancel)
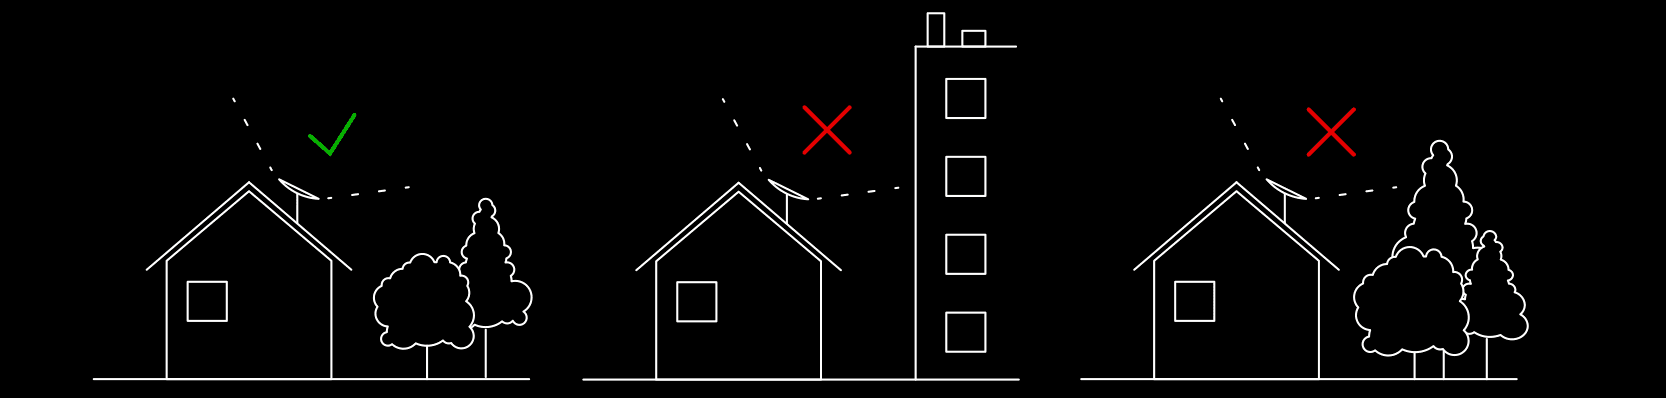
From the app, use the “Check for Obstructions” tool to find the best spot to set up your Starlink. Your Starlink needs a clear view of the sky so it can continuously stay connected with satellites as they move overhead. Avoid setting up next to buildings or under trees. Learn more in the obstructions section.
Your Starlink Kit comes with a base designed for quick ground setup. You may find that you require a mount to avoid obstructions and to permanently secure your Starlink.
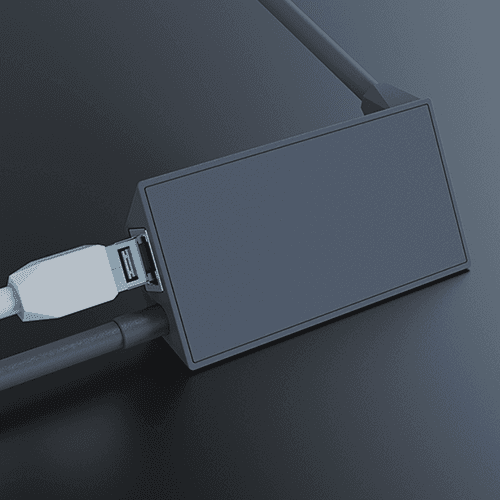
This is also a good time to consider cable lengths required, routing your cable inside, and where you may want to place your router. To connect to third part devices, you'll need the ethernet adapter.
For current customers, mounts and cable accessories are available for purchase on the Starlink Shop. To preview mounts, see our Accessories Guide.
Explore the Shop
How a Starlink order works without a contract
After placing your Starlink order, it’s important to know that:
With Starlink, there are no contracts. You can cancel at any time, for any reason, on your account page
You can try Starlink for up to 30 days from receipt, and, if not satisfied, return the hardware for a full refund
Your billing begins 21 days from the day your Starlink Kit ships, and is not dependent on install or usage. An invoice will generate 7 days prior to the due date.
There is a one year warranty for most customers. There is a two year warranty when using Standard hardware the EU / UK or the High Performance hardware across the world.
Get the App
Choose a clear view of the sky with few obstructions. Use the Starlink app “Check for Obstructions” tool. See obstructions sections.
Your Starlink Kit arrives with everything you need to get online in minutes including your Starlink, WiFi router, cables and base. See the Starlink Specifications for more details on what’s in the box.
Step 1 - Find a Location
Step 2 - Unbox & Plug in
Once your Starlink arrives, it’s quick and easy to connect for the first time - there a few simple steps and no special equipment is needed..
Note: To ensure your Starlink service is set up for optimal, long-term performance, we recommend optimizing your set up after the quick start setup.
Get ONLINE
MANAGE ON THE APP
Feedback?
Stand close to the router, open the Starlink app, and tap ‘Start Setup’.
a. This will guide you through the setup and prompt with WiFi configuration steps like setting a Network name and password.
b. No Starlink app? Find and connect to the STARLINK network in your device’s WiFi settings.
Confirm you are connected by navigating to a website, watching a video, or running a speed test from the app while connected to Starlink. You will see an ONLINE status on the main screen of the app.
a. Note - We recommend using the Starlink router for initial setup confirmation. If using a third party router, you will need an ethernet adapter. See the WiFi section for additional guidance.
Starlink Stats: From the Starlink app in the “Statistics” section, or by typing dishy.Starlink.com into any web browser, you can check statistics like speed, uptime, latency, outages, and alerts while connected to the Starlink router.
After a few hours of connection, the Starlink app has had time to collect more data.
Obstructions: Check to see where you may have obstructions causing intermittent service.
WiFi Range: View the signal strength of each connected device from the Network screen, use the Range tool to test WiFi signal throughout your home, and run a speed test.
Support: If you are having issues with setup, review the guidance in the Troubleshooting and Setup sections in Support. It may take up to 20 minutes for Starlink to connect.
Step 3 - Connect to WiFi
You can manage your Starlink and customize your settings on the Starlink App.
Troubleshoot common issues and contact support
Check the health of your Starlink, from uptime to latency to download speed. Starlink will monitor connectivity and provides a break down in the stats section.
Manage your WiFi configuration settings
Manage your account, from adding portability for use on-the-go to changing billing information, to cancelling service
Utilize "sleep mode" to save power or "stow" your dish to take it on the go.
See weekly software updates
Connect cable to Starlink
Set Starlink into base (in the location you found above)
Connect cables to the router and plug into power
Starlink will automatically level itself to search for satellites overhead. Do not attempt to manually adjust your Starlink.
After a few minutes, Starlink will make an initial connection to the Starlink constellation and tilt to the optimum angle for satellite coverage.
This guide will onboard you as a Starlink customer after placing your order.
GETTING STARTED
Starlink User Guide
The Starlink App

OPTIMIZE YOUR SETUP
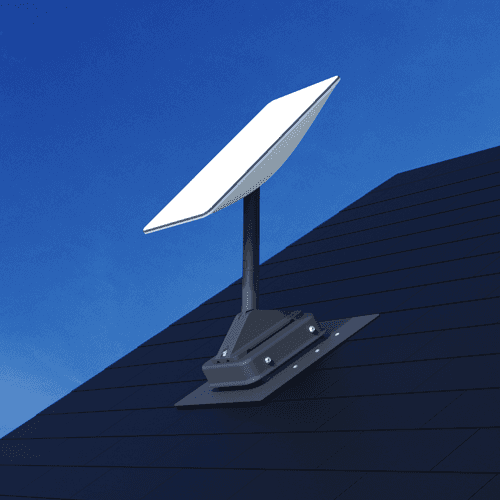
MOUNTS
WIFI COVERAGE
Bring your Starlink performance to the next level by customizing your installation. Permanently mount your Starlink, route your cables indoors, and expand WiFi coverage throughout your entire home.
From the app, use the “Check for Obstructions” tool to find the best spot to set up your Starlink. Your Starlink needs a clear view of the sky so it can continuously stay connected with satellites as they move overhead.
The tool will highlight the portion of the sky that is required to be clear from the perspective of your Starlink. Objects that obstruct the connection between your Starlink and the satellites overhead (trees, chimneys, poles, etc.) will cause service interruptions.
Note: Your Starlink is weather resistant and melts snow.
After you have completed your quick start setup and confirmed your internet is working, best practice is to consider how to permanently mount your Starlink to avoid obstructions, route your cable to the ideal spot for the WiFi router, and decide what other accessories you may need for a secure setup.
Mounts are designed for self-install, but if you are uncomfortable, call someone/be safe
Use the Starlink App: Check for obstructions on the app before you begin to understand what area needs to be clear to avoid incorrect installation.
Quick Start First: Perform a quick start setup with Starlink on the ground before you permanently install to confirm functionality and the desired tilt direction.
Avoid Cable Damage: Your Starlink includes a 75 ft custom cable
Do not significantly bend, twist, or force your cables through holes
Do not drag or bump the ends of the cable while routing.
Do not install the cable fully taut
Ensure the connector and the cable ends are free of moisture during install. Do not leave the components outside in the rain until everything is fully plugged in.
The cable routing kit, available on the Starlink shop, includes a protective routing device.
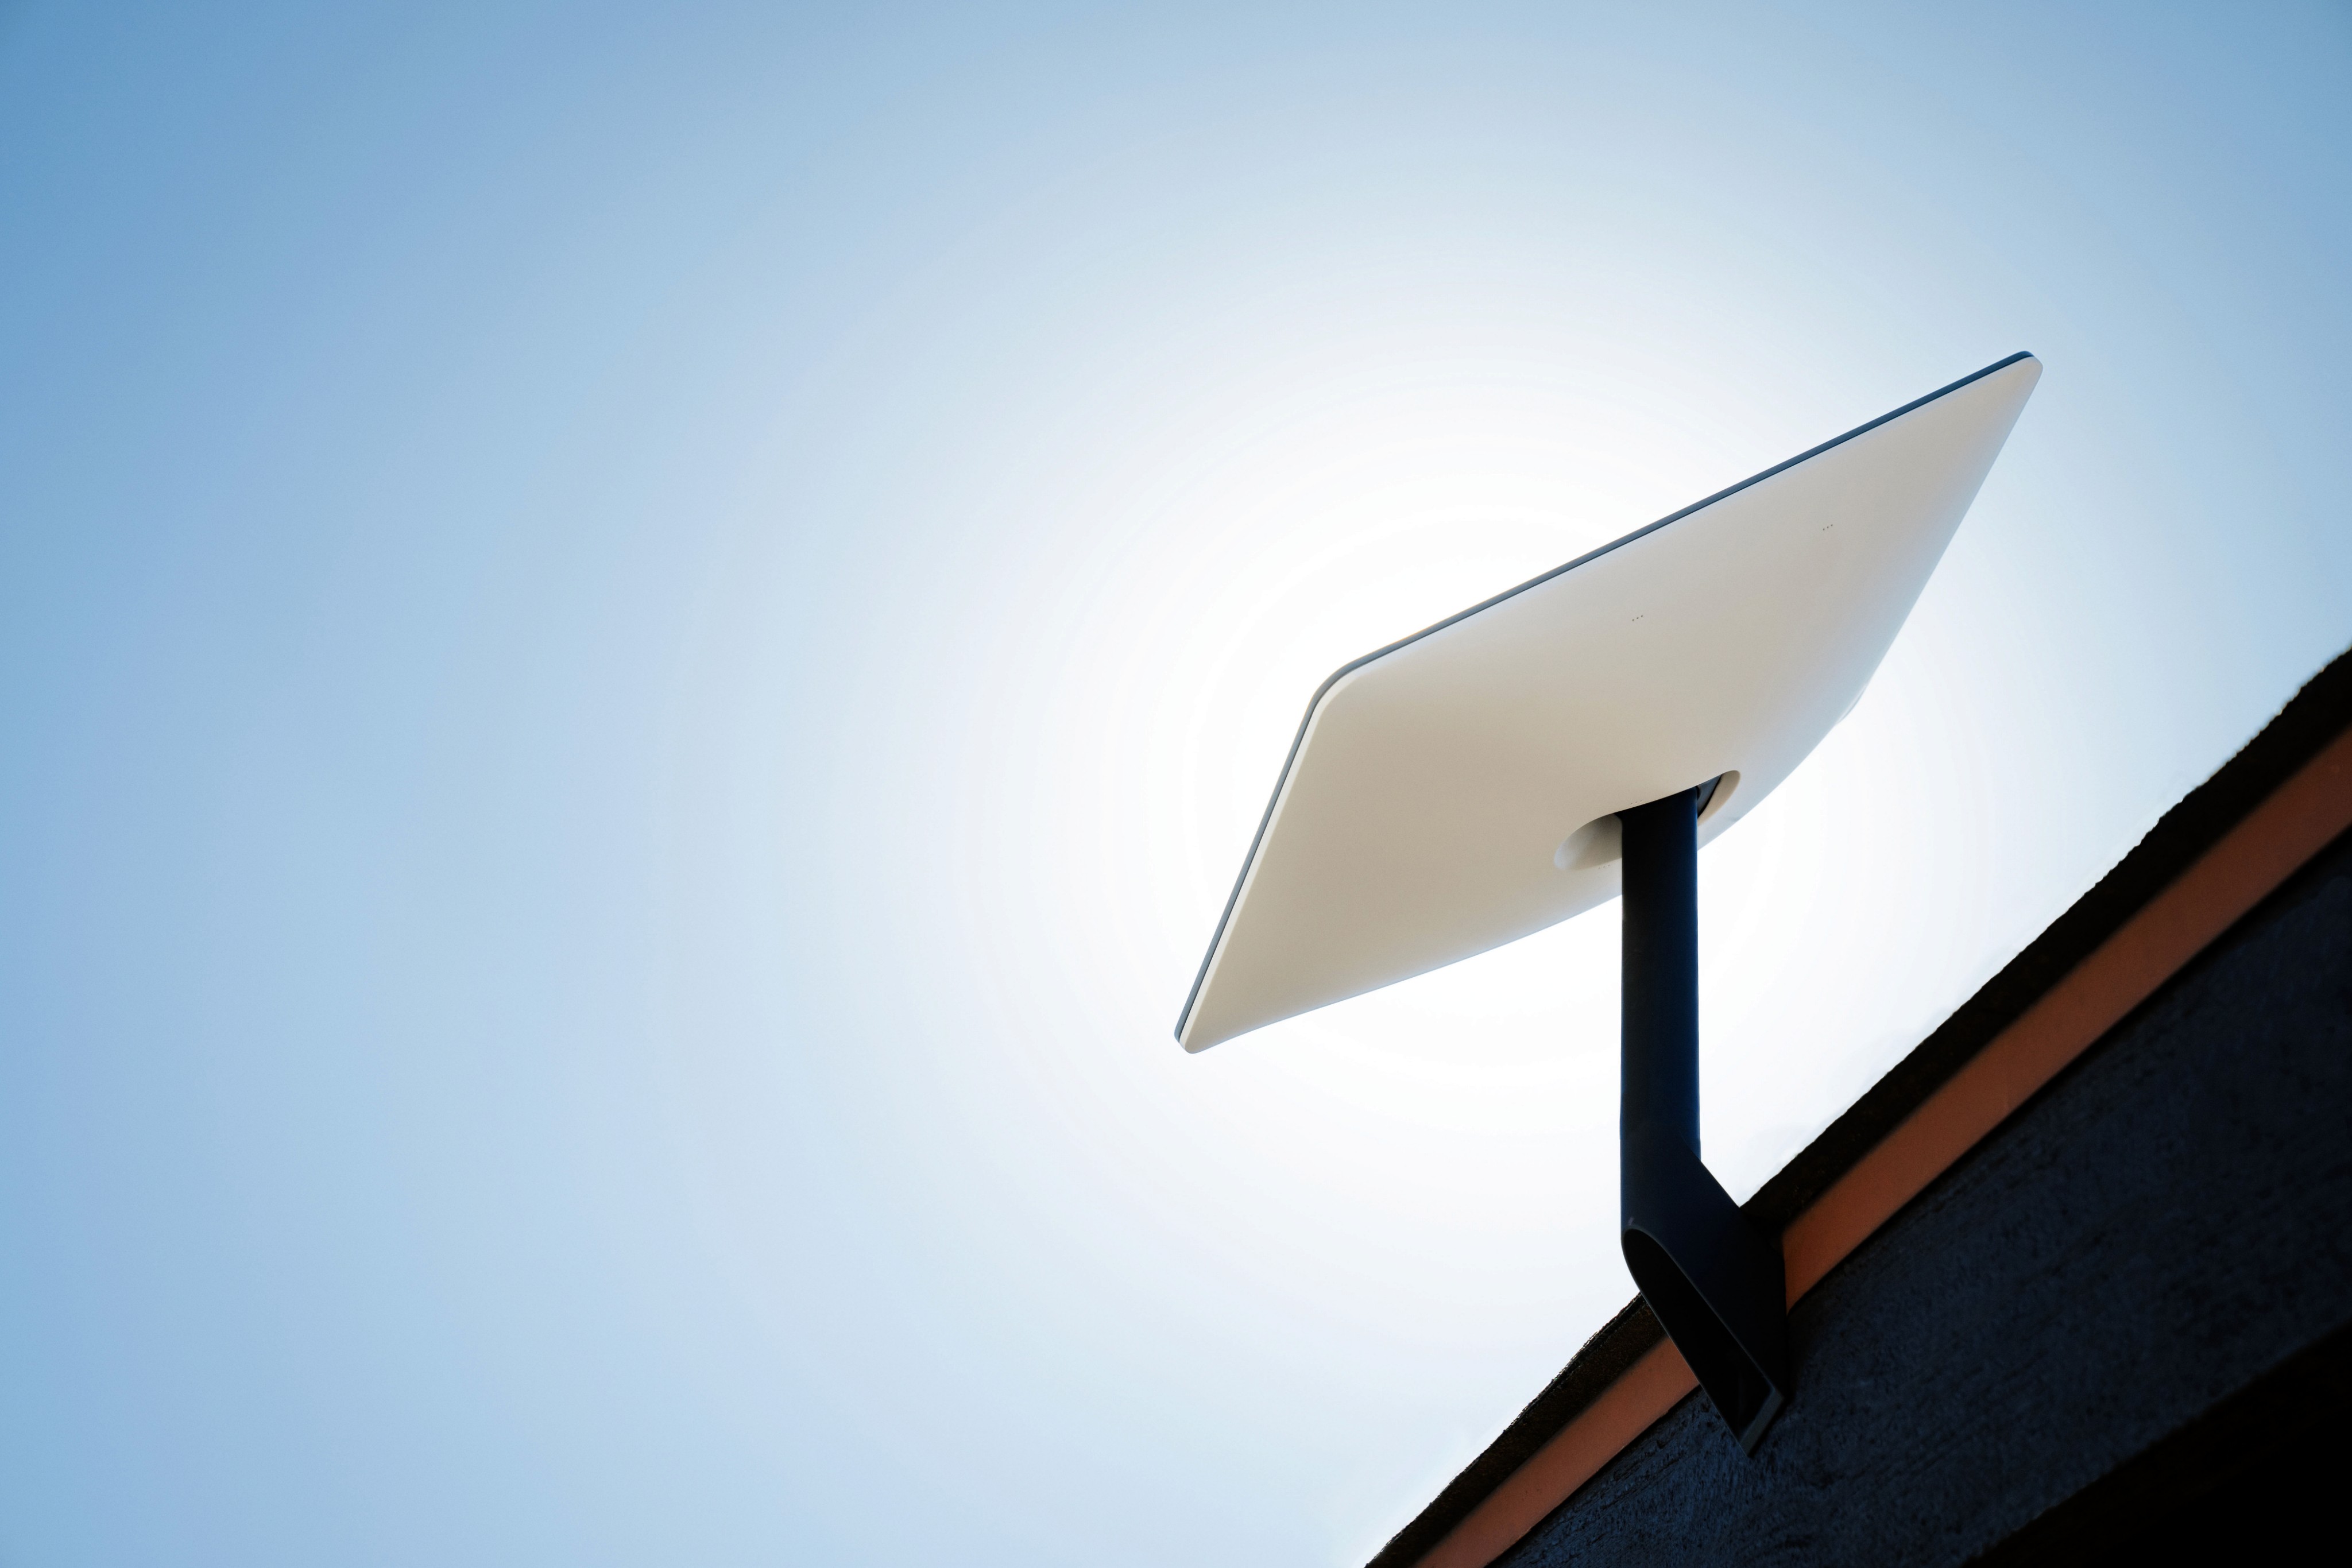
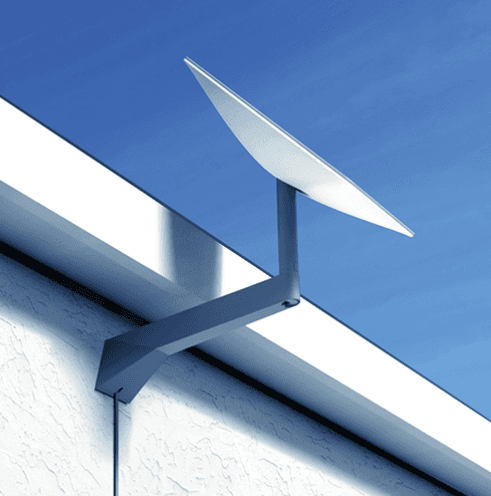
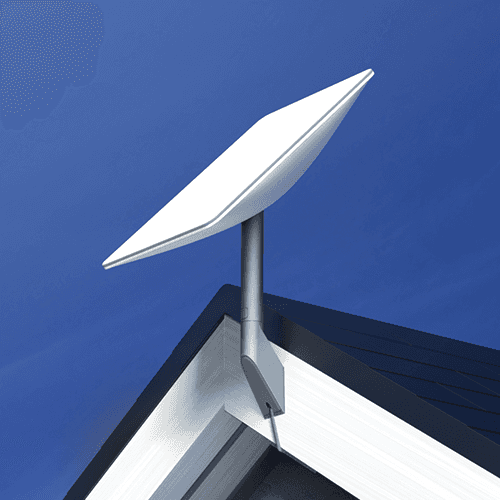
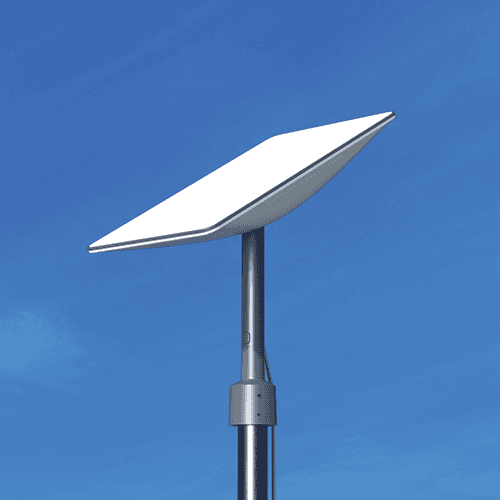
Install Vertically: For best results, Starlink should be installed as close to vertical as possible (eg. not mounted horizontally to the side of a wall without the proper mount)
Ensure Starlink is installed on a flat, horizontal surface if possible. Starlink performs best when the mast is as vertical as possible (within 35 degrees of vertical). Note - If the mast is horizontal, the Starlink will be constantly searching for the field of view overhead, and the motors may be impacted over time.
Installation Best Practices
Obstructions
Permanent Installation
MOUNT
USE CASE
DETAILS
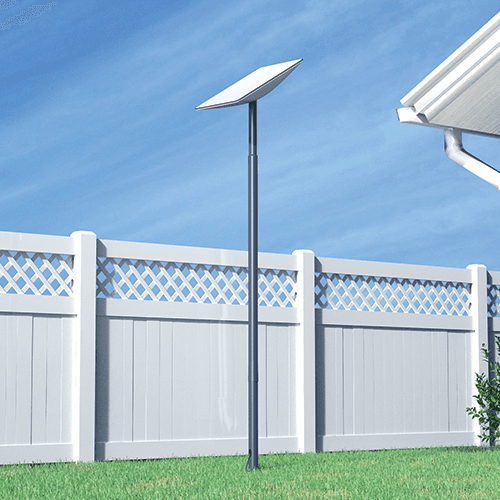
GROUND POLE MOUNT
PIVOT MOUNT
FLASHING MOUNT
To provide reliable WiFi coverage to every corner of your home, the connection between each Starlink Mesh WiFi Router, or mesh node, needs to be strong. Make sure your primary Starlink router (from your Starlink Kit) and mesh nodes are evenly spread out, but no more than one to two rooms apart from each other. For example, if a room in your house that is 3+ rooms away has a weak connection and you place it in that room, the mesh node will not be able to connect well to the primary router.
You can use to Starlink app to place the routers in the correct locations.
STARLINK MESH
CHECK COVERAGE IN THE STARLINK APP
When placing your router in your home, follow these tips for optimal range:
Central location: Your router should be centrally located in your home in the area where you most often use your devices (mobile phone, tablet, computer).
Few barriers: The best connection will be when your router is in the same room, or about 1-2 rooms away. The thinner the wall, the further the signal can go. For older houses that may have more dense wall materials like plaster, you may want to try placing your routers closer to the door (wood is less dense).
Open space: The router communicates best when it is not closed in. Avoid cabinets, media consoles, and closets.
Flat surface: Place your router on a hard, flat surface like a table, countertop, shelf, or nightstand. Surfaces that are up at least halfway up the room are better than the floor if possible – signal emits mainly along the same plane it is placed in.
Upright position: Place your router on its base – do not lay it down on its side. Check and see if your router may have tipped over accidentally if you are suddenly having issues.
Away from interference: Check for interference from other devices, such as cordless phones or baby monitors, and try to move your other devices to different frequencies if possible.
Once you set up your Starlink, you can test your WiFi coverage with the Range feature on the Starlink App.
The “Range” tool allows you to measure your Starlink WiFi signal strength in real time as you walk around your home and reports a summary at the end. This can advise where you may need to adjust router placement or place a mesh node.
The “Network” tab allows you to view the signal strength of each of your devices connected to your WiFi.
From Settings, there is an option to split the WiFi bands. The 2.4GHz band provides a longer range but may experience more interference than the 5GHz band. The 5GHz band uses shorter waves, which makes it harder for the signal to penetrate walls and solid objects (making the range smaller) but will encounter less interference.

If you are still having trouble with your WiFi signal, troubleshoot common issues or contact support here.
THIRD-PARTY DEVICES
Carefully route Starlink cable from the outside in without significantly bending it or jamming the connector. The dish cable is designed to fold flat to minimize the size of the hole required to pass through the wall. The maximum diameter needed for the cable to fit through the wall is 19.05mm (¾”). Damages to the cable could impact your quality of service so be sure your cables remain free of kinks, debris, or door-jambs. The cable is not rated to be buried or under water.
Additional cables and routing kits are available in the Starlink shop.
Your Starlink comes with a custom 75 ft (23 m) detachable power over ethernet cable between Starlink and router* and a 6 ft (1.8 m) power cable *. It’s important to measure the distance between your ideal Starlink location and your ideal router location to ensure that you can successfully route the cable indoors.
To connect a 3rd party router or mesh system, you will need to purchase the Ethernet Adapter from the Starlink Shop to allow for a wired connection to the network.
Bypass mode can be enabled via the Starlink app under "Settings". Bypass mode will completely disable the built-in Starlink WiFi router functionality. An Ethernet Adapter is required to use this feature. A manual factory reset is required to reverse the setting. You may not be able to utilize all features of the app when using third party routers.
SUPPORT
This is a new Starlink page in testing. If you have a moment, please provide feedback to improve it.
Best for shallow roof overhangs.
Allows for clearance of overhangs of up to 2”.
Best for installations where traditional roof or wall mounting is not possible.
Flexible with a wide variety of mount systems
Designed to attach to any existing pole with a max diameter of 2.5” (64 mm).
Best for long roof overhangs.
Allows for clearance of overhangs of up to 12”.
Requires additional purchase of Pivot Mount.
Designed for water-tight protection when installing Starlink on shingles or metal and provides storage for extra cable.
Installation Difficulty: Medium
Drilling is required.
Installation Guide (PDF)
Includes: Flashing mount, face cover, truss head screws, screws, sealing washers, lock nuts, ¼ screws, foam gasket, tracing tool, installation instructions
Installation Difficulty: Medium
Drilling is required.
Installation Guide (PDF)
Includes: Pivot mount, mastic tape, lag screws, carry bag, cable clips, installation instructions
Installation Difficulty: Easy
No drilling required.
Installation Guide (PDF)
Includes: Pipe adapter, carrying bag, cable clips, attachment screws, installation instructions
Installation Difficulty: Medium
Requires digging.
Installation Guide (PDF)
Includes: Ground pole mount, Installation instructions
Installation Difficulty:
Medium
Drilling is required.
Installation Guide (PDF)
Includes: Short wall mount, screw kit, carry bag, screw cover, silicone, cable clips, installation instructions
Installation Difficulty: Medium
Drilling is required.
Installation Guide (PDF)
Includes:: Long wall mount, screw kit, carry bag, screw cover, silicone, cable clips, installation instructions
Best for installations where traditional roof or wall mounting is not possible.
Designed for in-ground installation. Allows up to 50” of clearance from the ground to avoid low obstructions.
Designed for installation on slanted roofs to ensure a vertical install.
Best for shingled roofing. Not recommended for tile, slate, and clay roofing.
The mount that comes with your Starlink is designed to support a ground level installation or a quick setup to test your internet connection. Mounts and cable routing accessories are designed for permanent installation in an elevated location, like a roof, pole, or wall.
Once you purchase your Starlink Kit, you can visit the Starlink Shop to purchase mounts and other accessories.

There are several things you should do to ensure your WiFi signal is great:
Placement: Move your router to a central, unobstructed location in your home or office.
Test: You can use the range feature in the Starlink App to ensure desired coverage
Starlink Mesh: Consider adding a Starlink Mesh Router to your network to extend the range of your WiFi signal. Starlink Mesh is sold on the store to active customers.
Third-Party: You can also use a third party router or mesh system to extend your WiFi. An Ethernet Adapter is required for wired connections to third party devices and is available in the shop. You may not be able to utilize all features of the app when using third party routers.
WIFI PLACEMENT